
Summer Sale On Now | Call or Text 1-877-587-5387

Nordica Sauna is now SaunaKits.com!  More info here

This section doesn’t currently include any content. Add content to this section using the sidebar.

This section doesn’t currently include any content. Add content to this section using the sidebar.

This section doesn’t currently include any content. Add content to this section using the sidebar.

This section doesn’t currently include any content. Add content to this section using the sidebar.

Learning Center

How to Build an Outdoor Sauna (DIY)

By Chris Tester · Last updated July 4, 2026 · 8 min read · Total build time: ~16 hours (kit)

How to Build an Outdoor Sauna (DIY)
Quick Answer

How do you build an outdoor sauna?

To build an outdoor sauna, prep a level, weather-tight foundation, then either assemble a pre-fab DIY outdoor sauna or build your own outdoor sauna from scratch. The process runs roughly six steps: identify your build site, choose a style, select outdoor-rated materials, size the room, compare kits, and assemble. It takes about a weekend for a kit. The one non-negotiable: a properly sized, professionally installed heater.

Key Takeaways

  • It comes down to kit vs. custom. A pre-fab DIY outdoor sauna kit ships engineered and ready to assemble, so most of the hard work is already done; building an outdoor sauna from scratch gives you total control but demands real carpentry skills.
  • Plan for about a weekend and $5,000-$12,000. A barrel or cabin kit usually lands in that range; a fully custom build climbs past $10,000+ once you add foundation, materials, and a heater.
  • Outdoor-rated wood is the make-or-break choice. Western red cedar and thermally modified (“thermo”) spruce resist weathering from rain, sun, and freeze-thaw; untreated softwoods do not.
  • The heater is almost never included. Budget $1,000-$2,000 extra and have a licensed electrician handle the 240V circuit.
  • “Done right” is a sauna that hits 150–195°F and maintains it. If it heats slowly or leaks, the culprit is usually insulation, the vapor barrier, or an undersized heater.

Choosing a DIY Outdoor Sauna Kit vs Fully Custom

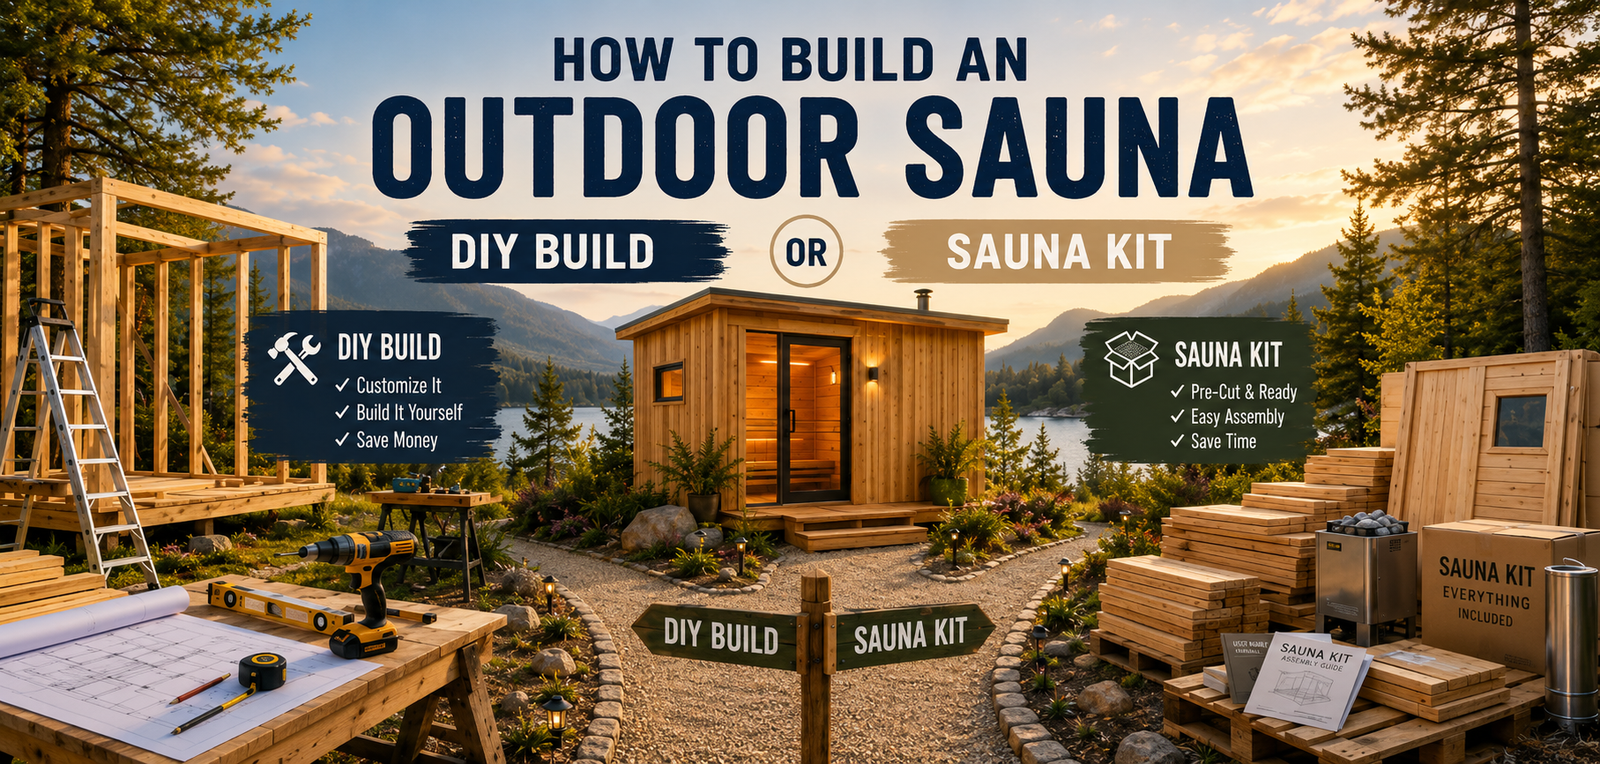
Before you pick up a single tool, settle the one decision that shapes everything else: are you assembling a pre-fab DIY outdoor sauna kit, or building an outdoor sauna from scratch out of raw lumber? Both can get you to the same place: a private heat retreat in your backyard, but the path, the timeline, and the skill required look very different. (We weigh the two head-to-head in our sauna kit vs DIY guide.)

For most people, the honest answer is a kit since it removes the engineering guesswork while still letting you do the satisfying part by hand. Building from scratch is a genuine project, and the right call for a specific kind of builder. Here’s how to tell which one is you.

Benefits of a DIY Outdoor Sauna Kit

A diy outdoor sauna kit arrives as a numbered set of pre-fab, pre-engineered parts (walls, benches, door, roof, and hardware) designed to fit together without a table saw or a structural calculator. The thinking that usually trips up first-time builders (wall thickness, insulation, the vapor barrier, how to vent the room) is already done for you.

  • Speed. A barrel kit can go up in 6-12 hours; a cabin kit in roughly 10-15 hours. That’s a weekend, not a full-season project.
  • Predictable cost. You know the price before you start, with no surprise lumber runs or wasted overages.
  • Engineered performance. Proper insulation, sealing, and heat retention come standard, so the room actually reaches sauna temperatures and holds them.
  • Forgiving to beginners. If you can follow instructions, operate a drill and a wooden mallet, you can assemble a kit with one helper.

This is why a kit is our default recommendation for anyone learning how to build an outdoor sauna for the first time. You still assemble it, you just don’t have to start from scratch.

The Appeal (and Challenges) of Building From Scratch

There’s a real romance to a fully custom build, and for skilled DIYers, it’s deeply rewarding. When you build your own outdoor sauna from the studs up, you control the footprint, the bench layout, the window placement, and every material choice. If you want a sauna that tucks into an odd corner or matches your home’s exact cladding, custom is the only way to get there.

The trade-off is difficulty. A from-scratch build means framing, insulating with mineral wool, installing a foil vapor barrier on the hot side, sealing, roofing, and finishing, plus sourcing DIY outdoor sauna plans you actually trust. Good DIY outdoor sauna plans spell out wall assemblies, insulation, and venting so nothing is left to guesswork. Mistakes here aren’t cosmetic: a missed vapor barrier, a bench at the wrong height, or thin insulation produces a room that never gets hot and rots from the inside. Realistically, a custom cabin is several days of work spread over weeks, and it rewards carpentry experience.

A quick gut check before you commit to either option:

Factor DIY kit Fully custom build
Skill needed Basic: follow instructions, use a drill and a wooden mallet Advanced carpentry & sealing
Time A weekend (6-20 hrs) Several days over 1-3 weeks
Cost $5,000-$12,000 (kit) $8,000-$34,000+
Design freedom Fixed sizes & layouts Any size or shape
Risk of error Low: engineered to fit Higher: insulation & venting on you

Swipe to compare →

How to Build an Outdoor Sauna: Step-by-Step Guide

Whichever route you take, the build follows the same logical order. The steps below assume a kit, since that’s how most people approach building an outdoor sauna, but each applies to a custom plan too. Work them in sequence; skipping ahead is how people end up with a sauna on the wrong foundation.

Step 1: Figure Out Where You’ll Put It First

Start with location, because it dictates size, foundation, and how far you’ll run power. Walk your yard and look for a flat, well-draining spot with a little privacy and easy access from the house (you’ll appreciate a short walk back inside in January, plus you’ll save on the electrical run).

What you need: a level base. A freestanding sauna needs a solid, flat foundation like a concrete slab (around $6 per square foot), pavers, a gravel pad, or an existing deck rated for the weight. A common, low-fuss choice is a patio sauna set on an existing slab. If your only flat surface is up against the house or in an outbuilding, a backyard sauna or even a garage sauna conversion can work too.

Why it matters: a sauna on uneven or soggy ground will twist, drain poorly, and trap moisture against the wood. Get the pad flat and dry now, and every later step gets easier.

Step 2: Choose a Style and Structure

Outdoor saunas come in a few proven shapes, and the right one depends on your space, budget, and the look you’re after.

  • Barrel saunas. The curved staves heat fast and shed water naturally, and they’re among the easiest kits to assemble. Browse barrel saunas if you want efficiency and a standout backyard centerpiece.
  • Cabin saunas. Classic square or rectangular rooms with the most usable bench space and headroom (the familiar Finnish look).
  • Traditional vs. infrared. A traditional outdoor sauna uses a rock-topped electric or wood heater for high heat and steam (löyly); an outdoor infrared sauna warms your body directly at gentler temperatures and often runs on a standard outlet.

Why it matters: style isn’t just aesthetics; it sets your heater type, electrical needs, and assembly difficulty before you buy.

Step 3: Outdoor-Friendly Sauna Materials

Outdoor wood has to survive rain, UV, and freeze-thaw cycles that indoor saunas never face, so material choice is where corners cannot be cut.

  • Western red cedar. The USA’s gold standard. Its natural oils resist moisture, decay, and insects, it stays cool to the touch, and it carries that classic sauna aroma.
  • Thermally modified (“thermo”) spruce or pine. Europe’s gold standard and growing in popularity in North America. Heat-treated until it’s resin-free and dimensionally stable, with rot resistance comparable to cedar. It’s an excellent choice, often longer-lasting exterior cladding for a weatherproof shell.
  • Hemlock. A budget-friendly, low-resin, scent-neutral option that’s best kept to protected or interior surfaces rather than fully weather-exposed ones.

Avoid: untreated pine or spruce on exposed surfaces, and never paint, stain, or seal the interior since those finishes release fumes when heated and trap moisture in the wood.

Step 4: Nail Down the Sizing

Size your sauna for who will actually use it, then add a little margin. As a rough guide, allow about two feet of bench length per seated person and enough room to stretch out if you like to lie down.

  • 1-2 people: a compact 4x6 ft footprint is plenty and cheapest to heat.
  • 3-4 people: a 6x8 ft room hits the sweet spot for couples and small families.
  • 5+ people: size up, and plan for a larger heater and possibly a heavier electrical service.

Why it matters: heater output is matched to room volume, roughly 1 kW per 50 cubic feet, so locking in size now tells you exactly which heater to buy and whether you’ll need an electrical upgrade. You can learn more about heater sizing in our Sauna Heater Sizing Guide.

Step 5: Compare Features and Prices Across Kits

With size and style settled, compare specific kits on the things that actually affect your build and your budget. The sticker price is only the start. The biggest hidden line item is almost always the heater, which many kits don’t include.

What to check Typical range Why it matters
Kit price $5,000-$12,000 Barrel and small cabins sit low; large cabins climb fast
Heater included? +$400-$2,000 Often sold separately
Wood type Cedar / thermo / hemlock Drives durability, look, and price
Electrical 240V circuit: $500-$1,000+ Traditional heaters need a dedicated, pro-wired line
Foundation ~$6/sq ft (slab) Not part of the kit, budget it separately

Swipe to compare →

Add those lines together to get your true cost to build an outdoor sauna, not just the kit price. Comparing this way keeps the cost to build an outdoor sauna honest and avoids any mid-project surprises. You can see how the numbers shake out across our full outdoor sauna range.

Step 6: Actually Bringing Your Sauna Kit to Life

Now the fun part: assembly. With the pad ready and the kit delivered, set aside a weekend and grab a helper; a second pair of hands makes raising walls far safer.

  1. Lay out the parts. Unpack and sort everything against the manifest so you’re not hunting for a panel mid-build.
  2. Set the floor and walls. Secure the base to your foundation, then raise and fasten the wall sections square and level.
  3. Add the roof and door. Cap the structure, hang the (usually pre-installed) glass door, and confirm everything seals tight.
  4. Fit benches and trim. Install benches, backrests, and the vent before the heater goes in.
  5. Install the heater, then call the electrician. Mount the heater per spec, but have a licensed electrician make the 240V connection and inspection. This is the one step you don’t DIY.
  6. Cure and first fire. Run the heater empty (supervised) on its first session to burn off manufacturing residue, then add stones, season, and enjoy.
Pro tip:

Dry-fit the wall panels loosely before driving each screw. Kits are engineered to fit, but checking the whole shell is square first, and that the door opening lines up, saves you from backing out a dozen fasteners after the roof is already on. It’s the difference between a smooth afternoon and a frustrating one.

Take the Next Step Towards Building an Outdoor Sauna With SaunaKits.com

If learning how to build an outdoor sauna has convinced you that a kit is the smarter path with all the build satisfaction, none of the engineering guesswork, then we’ve made the next step easy. A DIY outdoor sauna doesn’t have to mean building an outdoor sauna entirely from scratch: SaunaKits.com ships pre-fab, fully engineered kits straight to your door, with the insulation, sealing, and heat retention already dialed in.

Browse our complete outdoor sauna collection to compare barrel and cabin styles, traditional and infrared heat, and wood options side by side. Whatever your yard and budget look like, there’s a kit that turns “someday” into this weekend.

Parting Thoughts on How to Build a Sauna Outdoors

Figuring out how to build a sauna outdoors really comes down to one early fork: a pre-fab kit that does the hard thinking for you, or a custom build that hands you total control in exchange for real carpentry. Either way, the fundamentals don’t change: a flat, dry foundation, outdoor-rated wood, the right size, and a properly sized, professionally wired heater. Nail those, and you’ll have a backyard sauna that hits temperature, holds it, and lasts for years. When you’re ready, a kit is the fastest, most reliable way to get there.

Frequently Asked Questions

Can I make my own outdoor sauna?

Yes. Plenty of homeowners build their own outdoor sauna every year, either by assembling a DIY outdoor sauna or by following custom DIY outdoor sauna plans. A kit is the most approachable route if you can use a drill and follow numbered instructions; you can build one over a weekend with a helper. The main job you should leave to a pro is the heater’s electrical hookup.

How expensive is it to build an outdoor sauna?

Most outdoor sauna kits run $5,000–$12,000, with barrel and small cabin kits at the low end and large cabins higher. A fully custom build typically starts around $8,000 and can climb well past that. Remember the extras the kit price hides: a foundation (about $6 per square foot), a heater ($1,000-$2,000), and a 240V electrical circuit ($500-$1,000+).

Do I need a permit to build an outdoor sauna?

It depends on your municipality, so always check locally first. In many areas, placing a prefab or kit sauna doesn’t require a building permit, but the 240V electrical work for a traditional heater almost always needs an electrical permit and inspection. Permit fees commonly fall in the $200-$300 range. When in doubt, a quick call to your local building department settles it.

Are backyard saunas worth it?

For regular users, yes. A backyard sauna delivers private, on-demand heat for relaxation and recovery without gym fees or drive time, and a well-built one can add to a home’s wellness appeal. The value case is strongest when you’ll actually use it a few times a week, and a kit keeps the upfront cost predictable while you find out.

What is the best material for an outdoor sauna?

Western red cedar is the classic choice, naturally resistant to moisture, decay, and insects, cool to the touch, and beautifully aromatic. Thermally modified (“thermo”) aspen, spruce, or pine is an excellent, often more durable alternative for the weather-exposed exterior. Whatever you choose, avoid untreated softwoods on exposed surfaces and never seal the interior with conventional finishes.

Sources and References

About the author

Chris Tester

Co-founder, SaunaKits.com

Chris Tester is co-founder of SaunaKits.com, where he has helped thousands of homeowners across North America select and install their saunas since 2022. With over 20 years in the wellness industry and hands-on experience assembling sauna kits across SaunaLife, Dundalk, Finnmark, and other major brands, he writes from the perspective of someone who has seen what holds up, and what doesn't, across years of real-world installations.

Search